When should you use a child theme for WordPress? It is important to create a child theme if you plan to make any custom changes to the code.
This way, when the theme is updated, any custom changes to the code will not be overwritten.
Traditionally, when working with WordPress, this has required making a copy of the functions.php and style.css to create the child theme and enqueuing the child theme to the parent theme.
With the different file structure in Full Site Editing, some adjustments needed to be made for all of the appropriate files to be found.
Fortunately, with the creation of the Create Block Theme plugin by WordPress.org, creating not only a child theme but a completely custom theme or style variation is easier than ever.
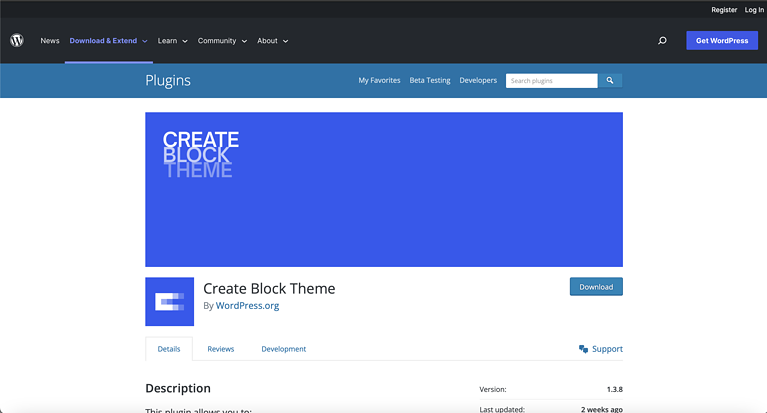 Screenshot from WordPress.org Plugin Repository, December 2022
Setting Up The Create Block Theme Plugin On WordPress
First, you will want to install and activate the WordPress block theme that you want to create your new theme or child theme for – in this case, I’m using Twenty Twenty-Two.
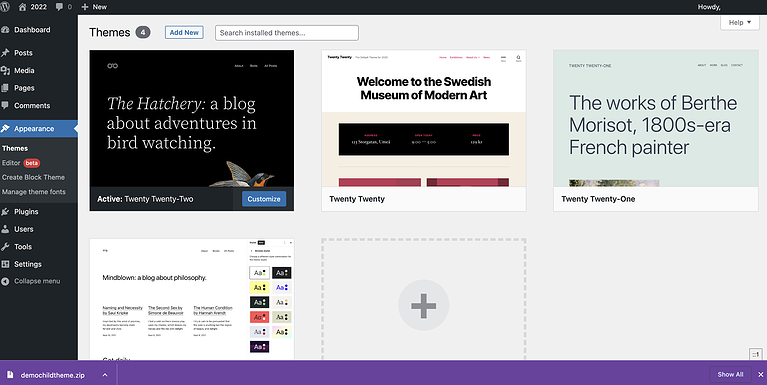 Screenshot from WordPress Dashboard, December 2022
Next, take the following steps:
Go to Plugins > Add New.
In the search window, find “Create Block Theme.”
Click Install and Activate.
 Screenshot from WordPress Dashboard, December 2022
With the plugin installed, you will have some new options under Appearance, including Create Block Theme and Manage theme fonts.
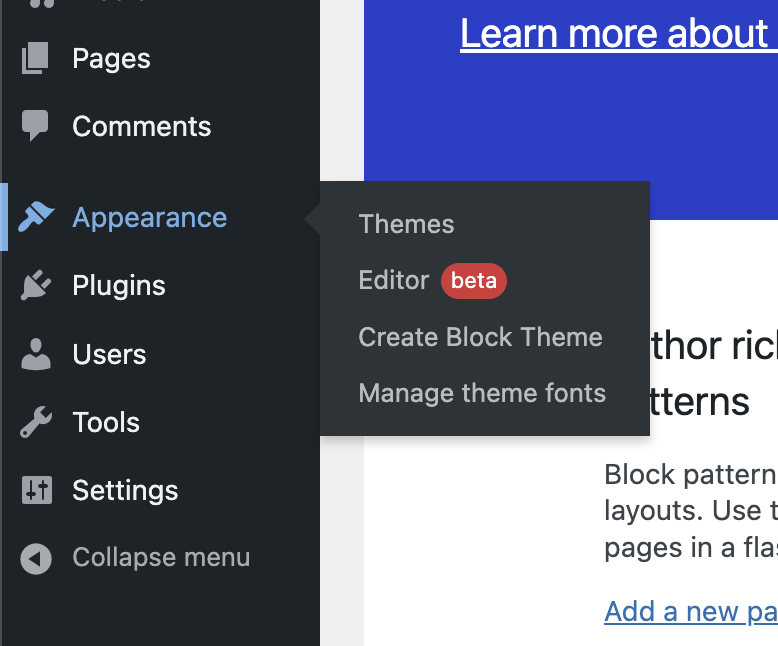 Screenshot from WordPress Dashboard, December 2022
Creating A WordPress Child Theme
The Create Block Theme plugin is an extremely simple way to create a child theme for a block, including a Full Site Editing Theme. The plugin will automatically create the parts folder, templates folder, theme.json, and style.css.
Once the plugin is installed, you are ready to create the child theme:
- Under Appearance, select Create Block Theme.
- Next select Create child of Twenty Twenty-Two (if you selected a different theme, it will list that theme).
- On the right, fill in Theme Name, Theme Description, Theme URI, Author, and Author URI.
- Click the blue Generate button to create the child theme.
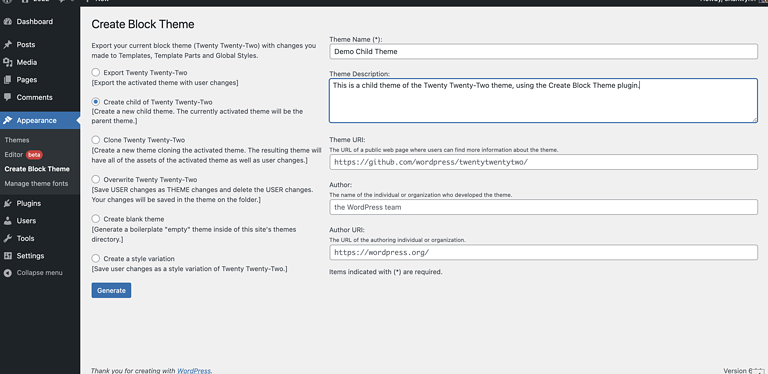 Screenshot from WordPress Dashboard, December 2022
Your child theme will be exported as a zip file.
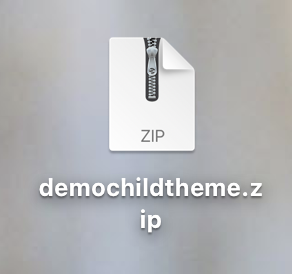 Screenshot of Generated child theme file, December 2022
Under Appearance > Themes, click Add Theme and Upload Theme, and select the zip file that was generated.
Go to Themes and make sure that you see your new child theme.
Creating A Custom Image For A WordPress Child Theme
One shortcoming of the plugin is that it does not allow you to add a screenshot.png for your child theme, nor does it use the one provided with the parent theme.
This can be easily fixed and provides a nice custom touch for your child theme.
Using your favorite image editor, create a new image that is 1200px by 900px in size, and name it screenshot.png.
Place the new screenshot.png inside the folder of the child theme that you created.
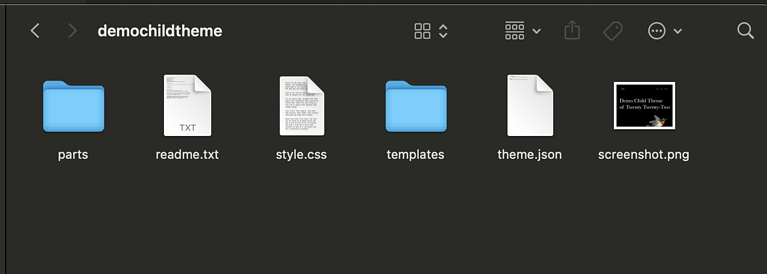 Screenshot of theme files for WordPress child theme, December 2022
Navigate back to themes and your new image should appear with your child theme.
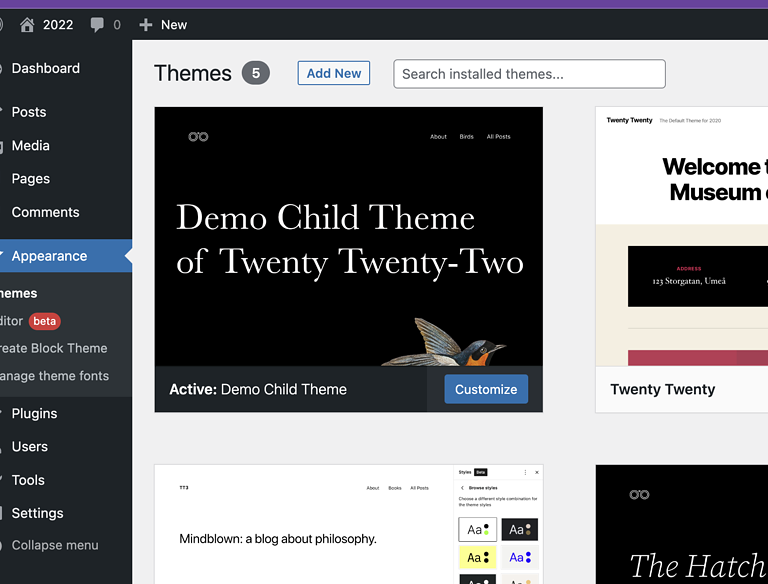 Screenshot from WordPress Dashboard, December 2022
Now that a child theme is set on your block theme, changes can be made to the theme.json and style.css template files without overriding the parent theme files.
This way, the parent theme can be updated without any problems.
You can also export the new child theme with the changes made, such as the image, to use as a child theme for new installs of the parent theme.
Creating A Custom Block Theme On WordPress
The Create Block Theme plugin provides a number of options to create your own theme. You can clone the current theme and make your own custom changes using that as the template.
Once you have made the changes and are happy with them, you can then use the plugin to export the theme with all of the changes that you made in order to use your new theme on other websites.
Additionally, you can create a completely blank new theme that uses the current theme as a boilerplate. This is a great way to make something that is completely custom.
To make a completely new theme, take the following steps:
Under Create Block Theme, choose Create blank theme.
Fill in all of the information on the right side, name it and add your name as the creator, and hit Generate.
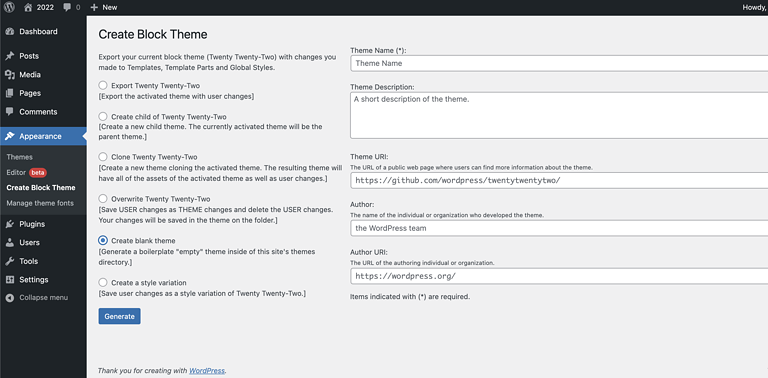 Screenshot from WordPress Dashboard, December 2022
Your new theme will be downloaded as a zip file.
Under Appearance > Themes, you can upload and activate your new theme.
Take the same steps as the child theme, if you want to add a custom image for the screenshot.png.
Activate the new theme and use that as the starting point for your new theme.
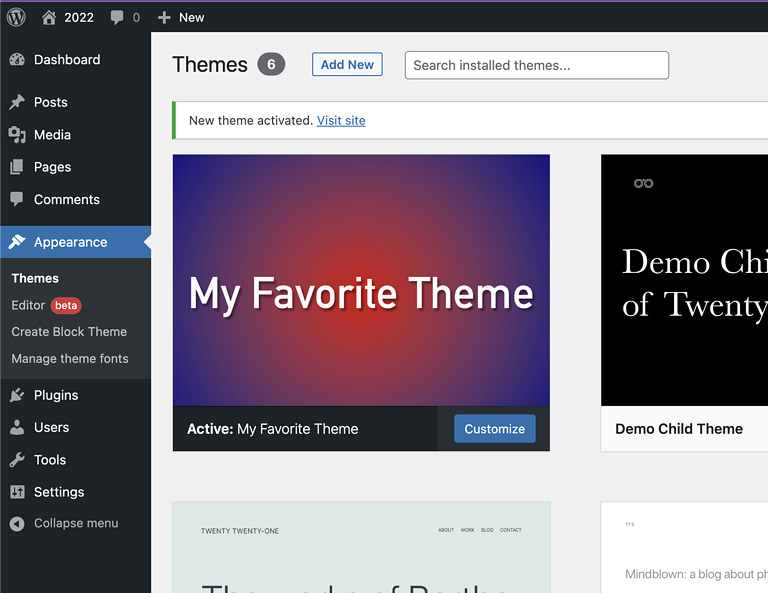 Screenshot from WordPress Dashboard, December 2022
Use patterns, blocks, template parts, and the styles editor to build out your new theme to your desired look.
Once you have completed work on your new theme, return to Appearance > Create Block Theme and export the new theme, which contains all of the changes you made to it.
It will export as a zip file and can be uploaded to any new WordPress installation.
Managing WordPress Theme Fonts
Another great feature of the Create Block Theme plugin is being able to easily add and delete fonts for the theme.
Typically, to add new fonts to a theme, the fonts would need to be downloaded, added to the fonts folder, and enqueued in the functions.php file, or a Google link would need to be added to the code.
Adding multiple fonts can complicate the process even more.
With the plugin, Google fonts and local fonts from your computer can be added or removed easily from your custom theme or a theme you have installed and activated.
For Google fonts, click Add Google Font and the dropdown window will get you a list of the Google fonts available.
Select the font, check the checkbox and click the button to add Google Font to your theme.
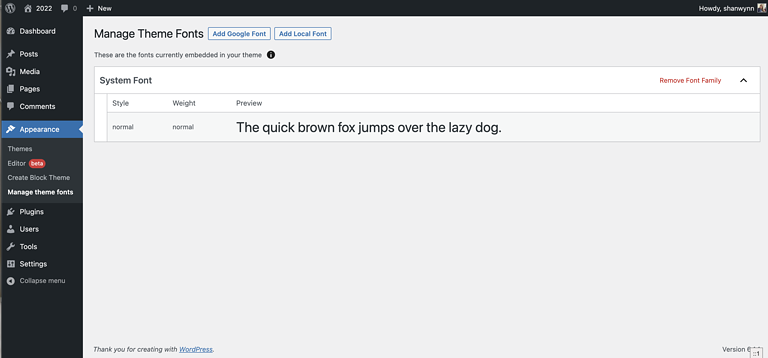 Screenshot from WordPress Dashboard, December 2022
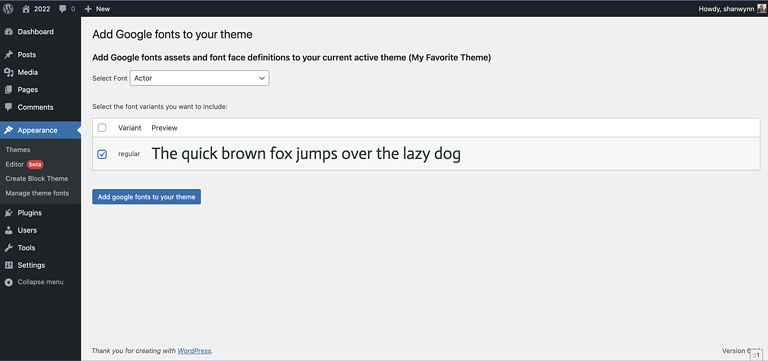 Screenshot from WordPress Dashboard, December 2022
Adding a local font that you have downloaded is a similar process.
Click to Add Local Font, upload the font file, fill in the font name, style, and weight, and hit the button to upload the local font to your theme.
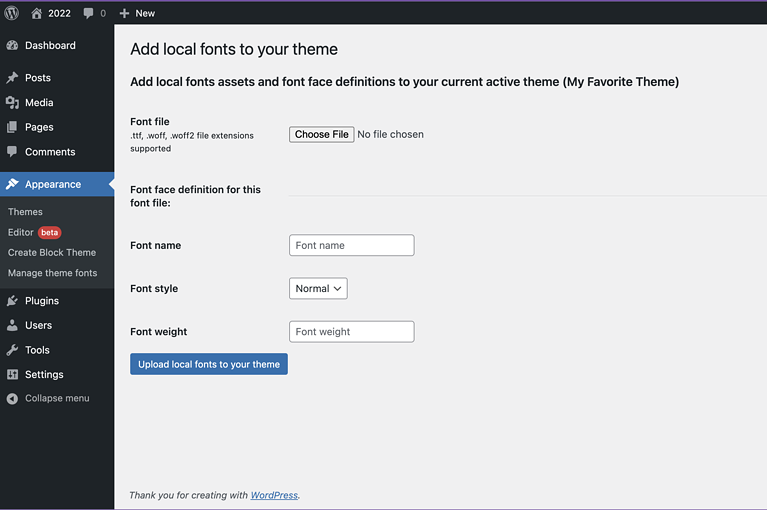 Screenshot from WordPress Dashboard, December 2022
WordPress Child Themes Made Easy
With Full Site Editing and the Create Block Theme plugin, creating your own theme and style variations is easier than ever before.
Using the plugin instead of manually enqueuing files and changing code makes child theme creation and adding new fonts a simple process.
Patterns, style variations, and reusable blocks when used with the plugin are great simple ways to create your own custom theme that you can export and use again.
All without the need to touch any of the theme code.
More resources:
Featured Image: Kaspars Grinvalds/Shutterstock
